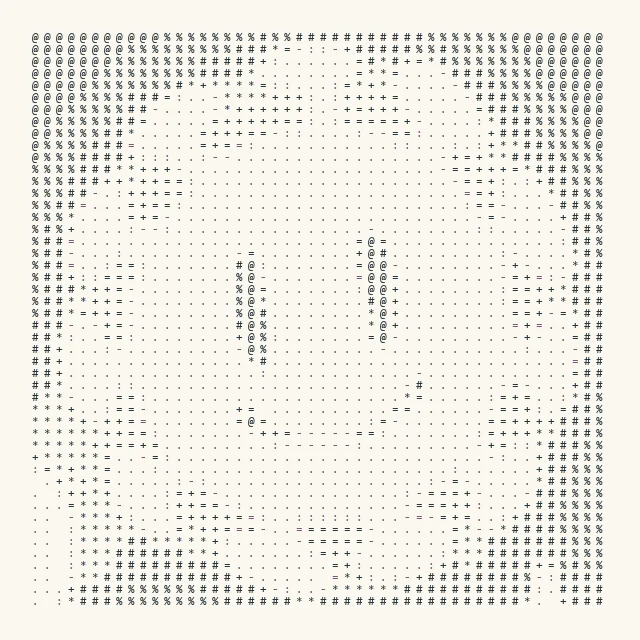
I recently started experimenting with ASCII art. Looking through the mainstream generation algorithms, I found that most of them map each image region to a single character using average grayscale as the metric.
More specifically, they build a lookup table from grayscale levels to characters, something like [0~255]->[0-9a-zA-Z!@#$%^&*()], and then apply extra operations such as positional alignment and histogram equalization to make the result more attractive.
For a concrete implementation of this approach, see Zhihu: ASCII Art—from Getting Started to Looking Down on It.
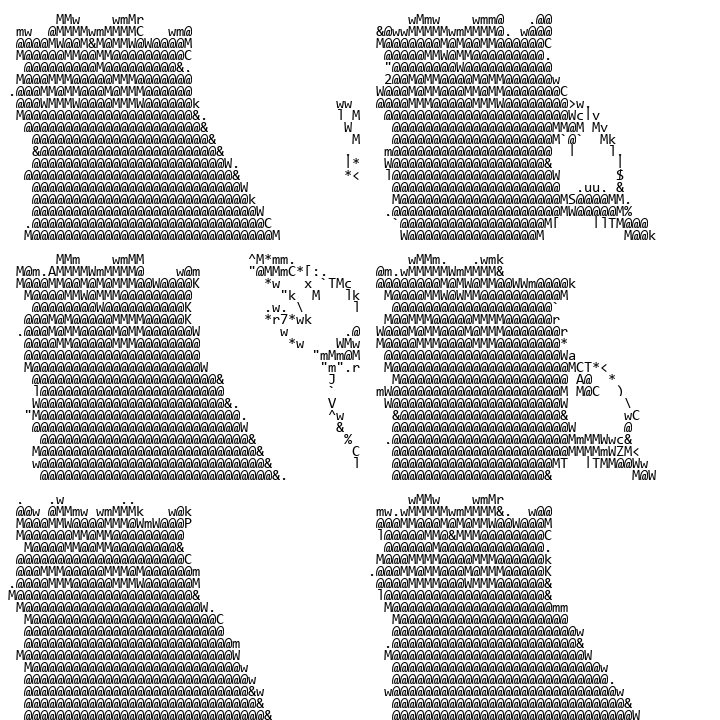
The implementation is intuitive and concise, but average grayscale is not a perfect metric. Consider the following images:
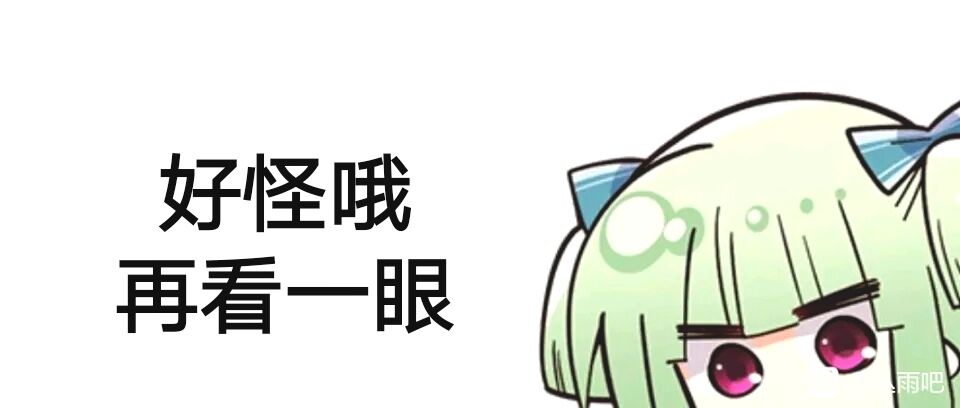
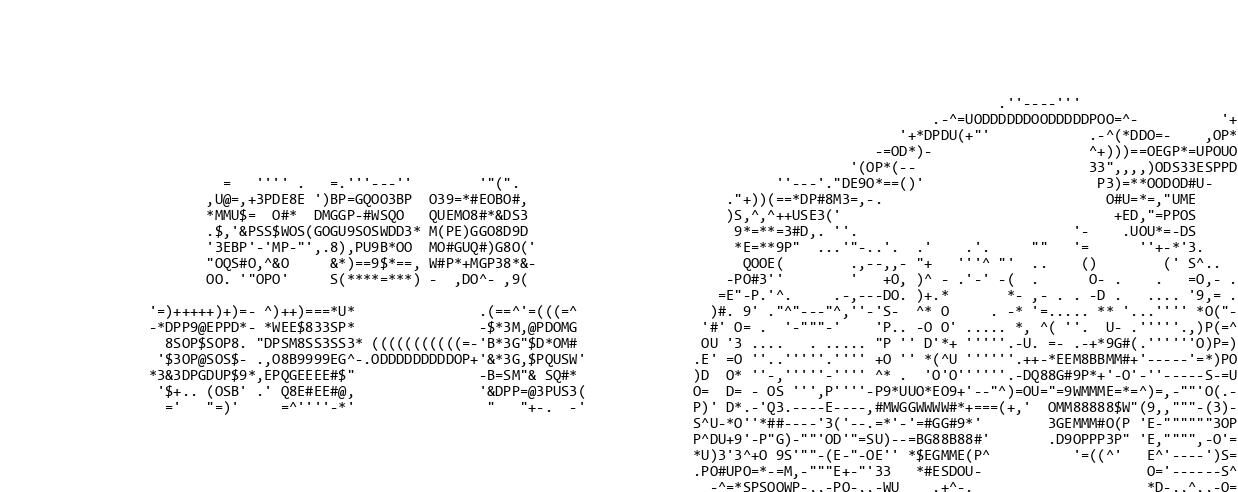
The upper edge of the Chinese character “好” contains a separate row of apostrophes, while the upper edge of “一” has turned into a left parenthesis that extends vertically as the horizontal stroke breaks apart. Errors like these make the ASCII art less pleasing to look at.
In fact, generating ASCII art from average grayscale is closer to an image-processing operation that performs downsampling and adds noise: the algorithm converts grayscale to characters region by region, and the mismatch between character shapes amounts to introducing structured random noise.
This algorithm is imperfect, so is there a perfect one? That is what this article explores.
Principle of Image–Character Shape Matching
In an ASCII-art generation algorithm, application constraints generally require us to choose the available characters, their style, and their size in advance. We then stack those characters together in the hope of reproducing the original image as closely as possible. For example, an image of the Chinese character “工” that occupies a 3×3-character area can be assembled from the character set {1-+} as follows:
-+-
 1
-+-
At the image-pixel level, each character position generally occupies a fixed region in the ASCII-art image, and that region contains several pixels.
To reproduce the original image as closely as possible within such a region, we should therefore make every pixel agree with the original wherever possible.
Of course, if every pixel at every position agreed perfectly, the ASCII art would be identical to the original image—but that rarely happens. One hundred characters can correspond to only one hundred regional patterns, whereas an 8×16-pixel region alone has $256^{8*16}$ possible configurations.
We therefore need a loss function to guide character matching. It must measure how closely each character agrees with the original, allowing the character selected for each region to represent that part of the image as well as possible.
Concepts such as agreement and expressive capacity are fairly complicated for me, so for now I use the common pixel mean squared error to measure character agreement: $J=\Sigma_i\Sigma_j{(I_{ij}-\hat{I}_{ij})^2}$
With such a loss function, we can select the optimal character for each region and then assemble the complete ASCII-art image.
Implementing Image–Character Shape Matching
The implementation has two main parts:
Pre-generating Character Images
The number of characters is small, and their images are fixed. Recomputing those images every time ASCII art is generated would create substantial redundant work, so their grayscale images can be generated and stored in advance.
To calculate the loss function, I convert the images into arrays stored by the scientific-computing library NumPy. Intermediate operations are performed with NumPy to accelerate the calculation; the array is converted back to PIL.Image only before the final image is generated.
For tidy layout and convenient computation, the character images need to be cropped to the same width. Some monospaced fonts are available, but commonly used fonts are not always strictly monospaced. Here I simply crop the larger character images to the dimensions of the smallest one—the original widths differ by only one pixel.
Finally, the character-image arrays are stacked into an array with dimensions (num, h, w), making batch computation convenient.
Generating the ASCII Art
For each character-sized region of the original image, calculate the loss function and paste in the image of the optimal character.
The result is shown below:
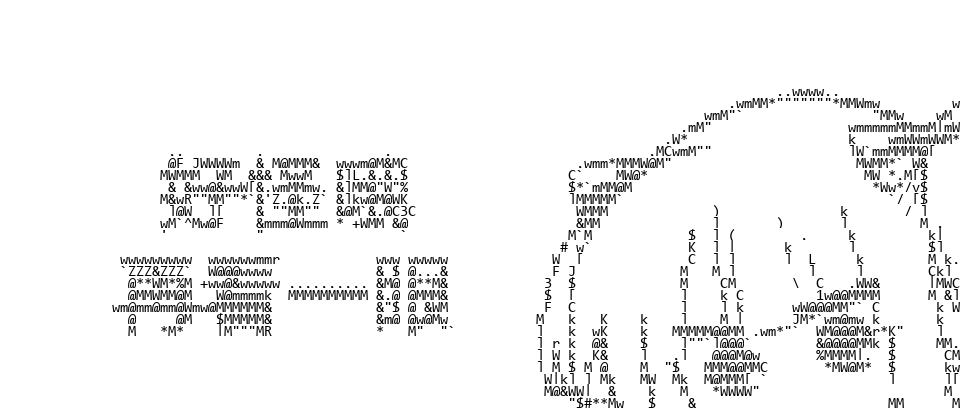
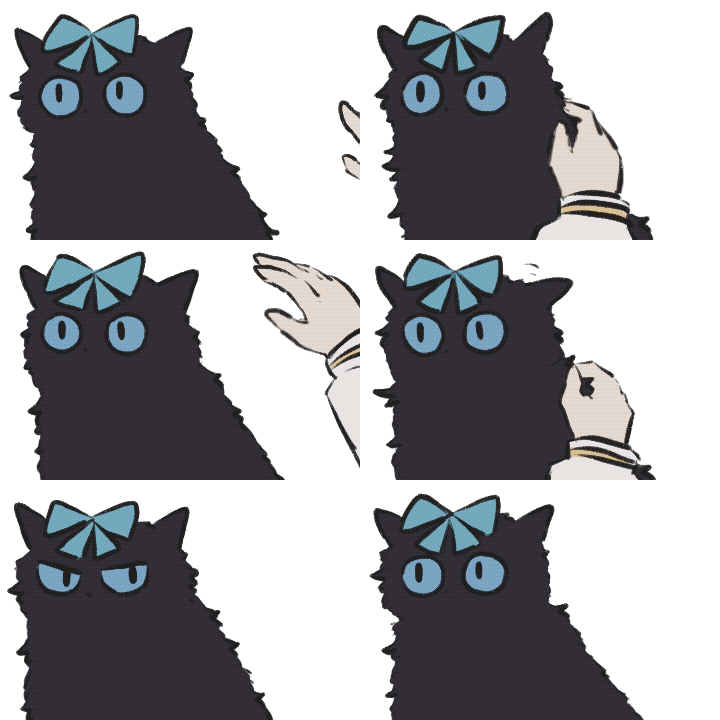
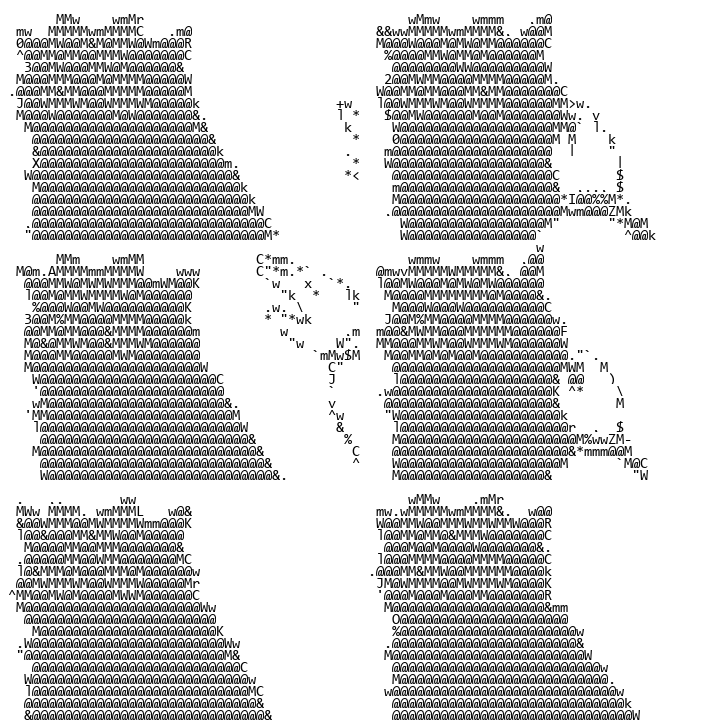
The outlines of the generated ASCII art are already very good: the contour of the hand and the tufts of the cat’s fur are reproduced faithfully. The black cat’s face is too blurry, though…
Additional Improvements
Histogram Equalization
I think characters have less expressive capacity than a black-and-white image, so the original needs some additional artistic processing, such as histogram equalization.
The improved result is shown below:
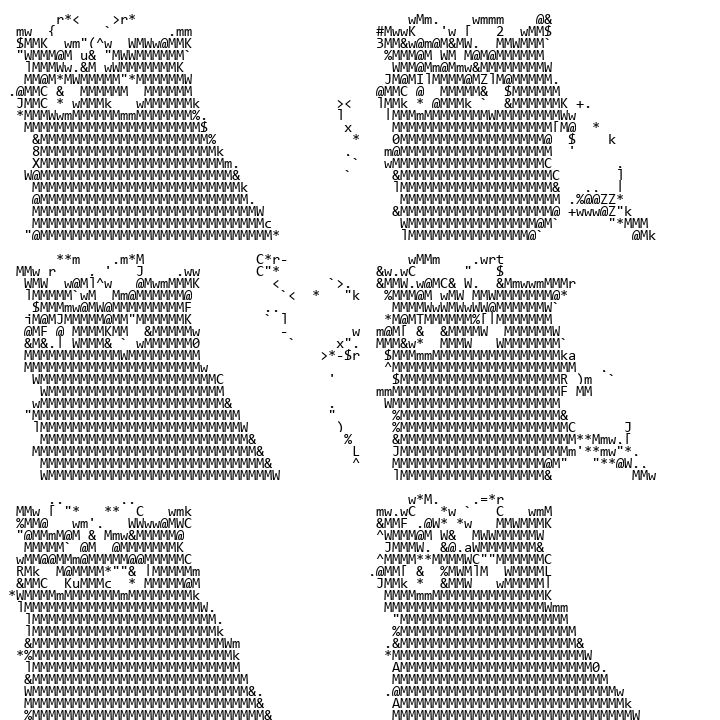
The black cat’s eyes and bow are now brighter, while the contour of the hand is less distinct than before.
Histogram equalization is not a consistently reliable improvement; it introduces several additional problems:
- The same object may be mapped to different grayscale values in different frames, making an animation less pleasant to watch. One possible approach is to select a keyframe and use it to construct a global grayscale mapping;
- ASCII art tends to be bright overall and can show more detail in lighter regions, whereas the image as a whole becomes somewhat darker after histogram equalization. I plan to match directly against a brighter grayscale histogram, but have not implemented this yet.
More improvements will have to wait for a later update.
Evaluating Agreement in Both Shape and Grayscale
After experimenting for a while, I found that the pixel mean squared error loss function cannot characterize agreement in grayscale.
Most pixels in a character image are either pure black or pure white, so every pixel remains far from an intermediate grayscale value. Different pixels within a region can counterbalance one another in average grayscale, but summing pixel-level absolute differences cannot reflect that complementary relationship.
I therefore added a second metric: a grayscale-distance loss function, defined as $J=(\Sigma_i\Sigma_j{I_{ij}-\hat{I}_{ij}})^2$.
The total loss function is then a weighted sum of the pixel mean squared error loss and the grayscale-distance loss.
The improvement is shown below. Original:
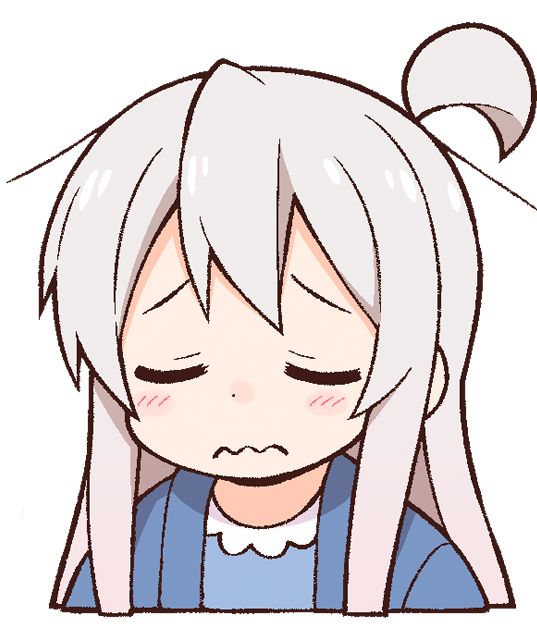
After the improvement:
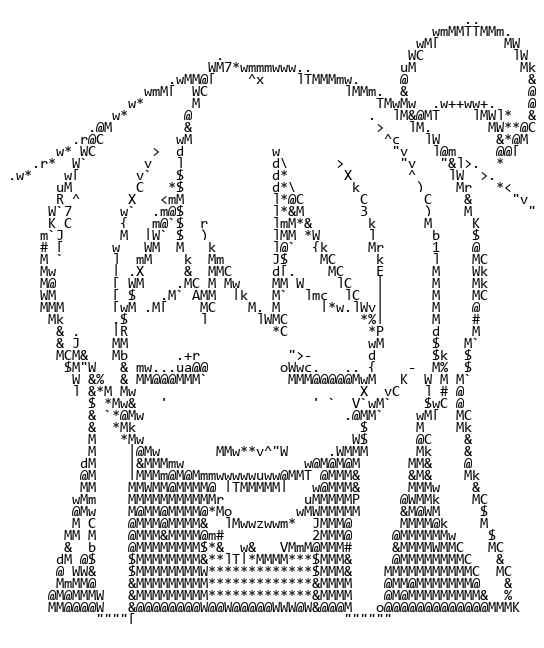
The image now contains both more shape detail and some grayscale regions, achieving an initial balance between the two. Adjusting the weights of the two losses provides a simple way to tune the ASCII art toward either shape or grayscale.
One important point is that the two loss functions must be brought to the same scale. If the squaring operation $square$ is replaced with absolute value $abs$, the effects of the two loss functions on different pixels become difficult to align, and adjusting the weights is less effective. The result with the initial weights is shown below:
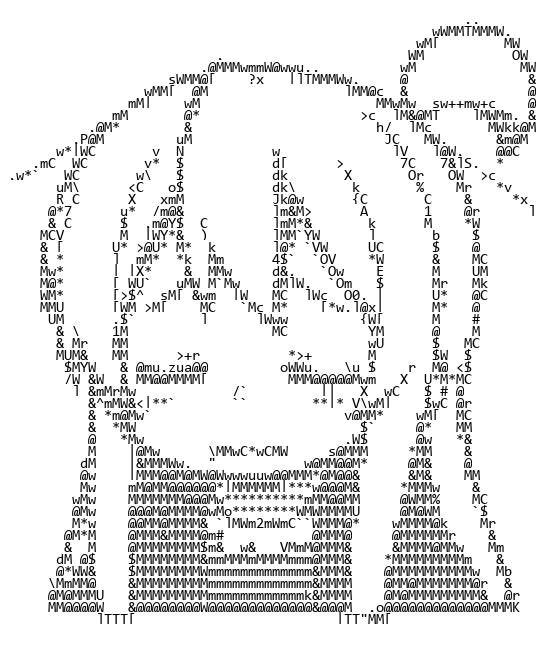
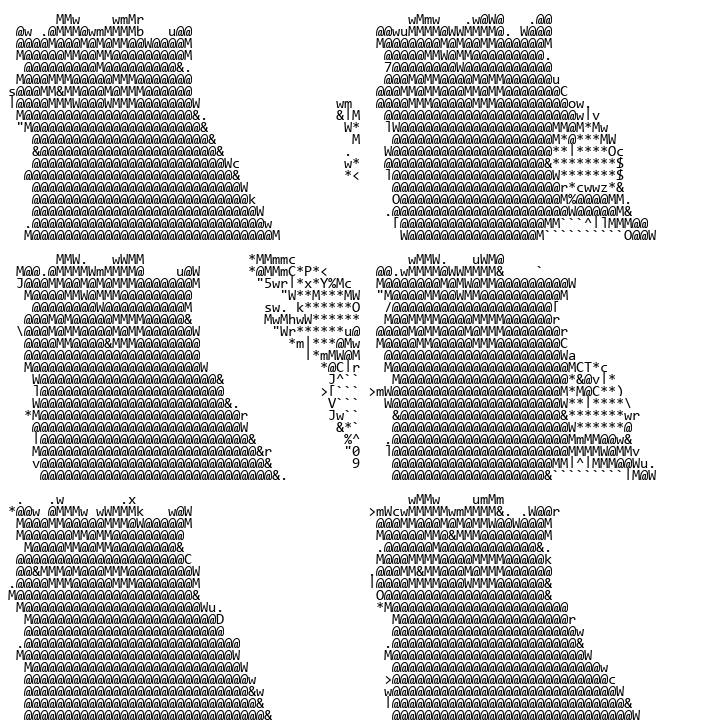
The generated ASCII art is visibly biased toward grayscale; in practice, this formulation makes it difficult to find a balance by adjusting the weights.
NoneBot2 Source Code
I implemented the approach above in Python within the NoneBot2 framework for QQ bots.
import numpy as np
from PIL import Image, ImageFilter, ImageDraw
from PIL.Image import Image as IMG
from PIL.ImageOps import equalize
from typing import List, Dict, Optional

from nonebot_plugin_imageutils.fonts import Font
from nonebot_plugin_imageutils import BuildImage, Text2Image

from .download import load_image
from .utils import UserInfo, save_gif, make_jpg_or_gif, translate
from .depends import *

charpic_char_map = r' `1234567890-=qwertyuiop[]\\asdfghjkl;\'zxcvbnm,./!@#$%^&\*\(\)_\+QWERTYUIOP{}\|ASDFGHJKL:"ZXCVBNM<>\?'
charpic_char_num = len(charpic_char_map)
charpic_char_font = Font.find("Consolas").load_font(15)
charpic_char_img = None  # (char_num, h, w)
def _init_charpic():
    global charpic_char_img
    def make(char) -> BuildImage:
        text = "\n".join([char])
        w, h = charpic_char_font.getsize_multiline(text)
        text_img = Image.new("RGB", (w, h), "white")
        draw = ImageDraw.Draw(text_img)
        draw.multiline_text((0, 0), text, font=charpic_char_font, fill="black")
        return BuildImage(text_img)
    charpic_char_img = list()
    for char in charpic_char_map:
        img = np.asarray(make(char).convert("L").image)
        charpic_char_img.append(img)
    char_h, char_w = charpic_char_img[0].shape
    for i in range(charpic_char_num):
        charpic_char_img[i] = charpic_char_img[i][:char_h, :char_w]
    charpic_char_img = np.stack(charpic_char_img, axis=0)  # (char_num, h, w)

def charpic(img: BuildImage = UserImg(), arg: str = Arg()):
    if charpic_char_img is None:
        _init_charpic()
    _, char_h, char_w = charpic_char_img.shape

    def make(img: BuildImage) -> BuildImage:
        img = img.convert("L").image
        if '平衡' in arg:
            img = equalize(img)
        img = np.asarray(img)
        img_h, img_w = img.shape
        img_h_ = img_h if img_h % char_h == 0 else ((img_h // char_h) + 1) * char_h
        img_w_ = img_w if img_w % char_w == 0 else ((img_w // char_w) + 1) * char_w
        img_ = np.ones((img_h_, img_w_), dtype=np.int32) * 255
        img_[:img_h, :img_w] = img

        p_h = 0
        while p_h < img_h_:
            img_h = np.repeat(np.expand_dims(img_[p_h:p_h + char_h], axis=0), charpic_char_num, axis=0)
            p_w = 0
            while p_w < img_w_:
                bias = img_h[:, :, p_w:p_w + char_w] - charpic_char_img
                grayscaleloss = np.square(bias.mean(2).mean(1))
                l2loss = np.square(bias).mean(2).mean(1)
                loss = grayscaleloss + l2loss
                img_[p_h:p_h + char_h, p_w:p_w + char_w] = charpic_char_img[loss.argmin()]

                p_w = p_w + char_w
            p_h = p_h + char_h
        img_ = Image.fromarray(img_)
        return BuildImage(img_)

    return make_jpg_or_gif(img, make)